
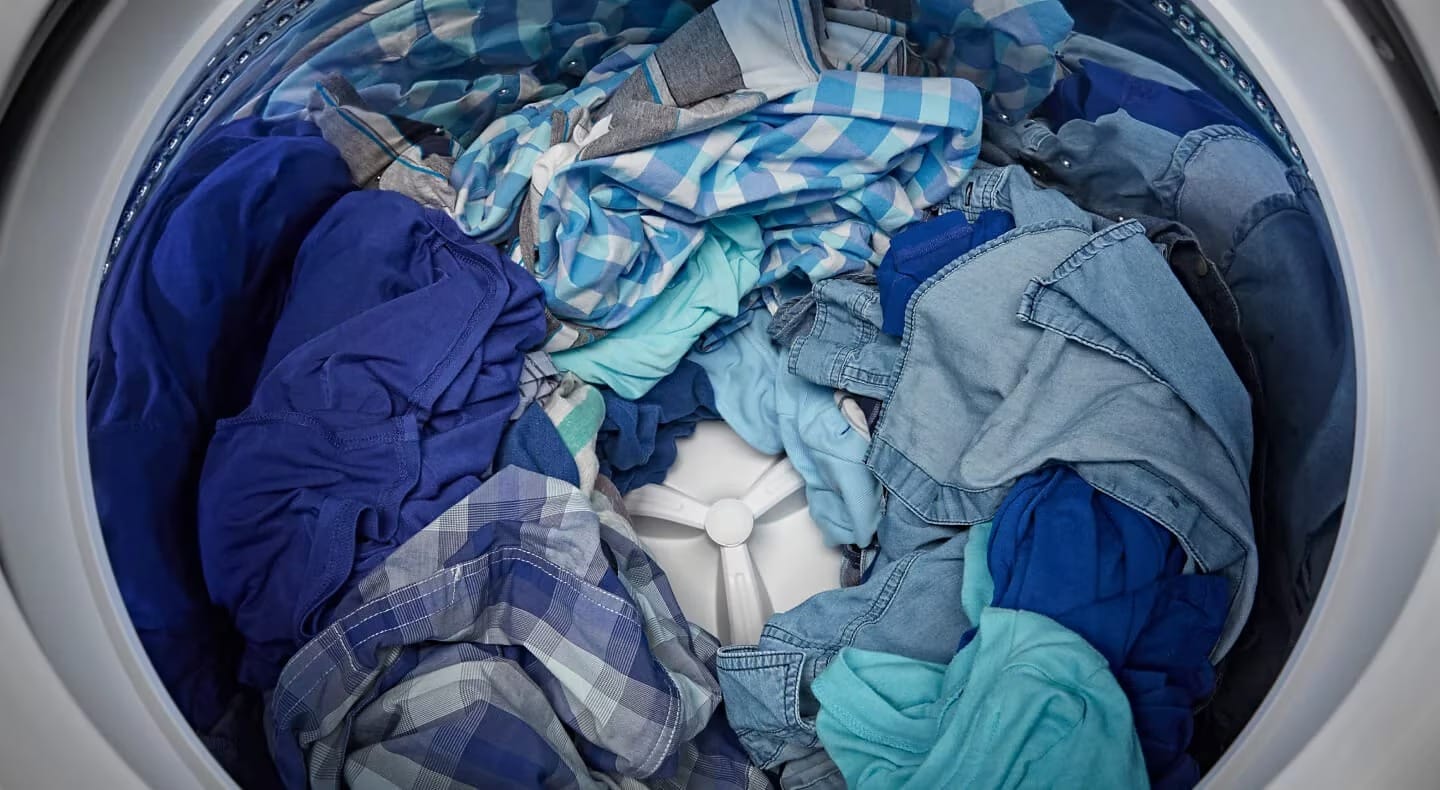
If your washing machine is supposed to clean your clothes… why does it sometimes smell worse than your laundry basket?. The truth is, even the best washers can accumulate detergent residue, fabric softener buildup, dirt, and bacteria over time—especially around the agitator. That central spindle inside your top-load washer works hard every cycle, but it’s also one of the most overlooked areas when it comes to maintenance.
The good news? Cleaning your washing machine agitator is easier than you think—and you usually don’t even need to remove it. In this complete guide, you’ll learn exactly how to clean a washing machine agitator step by step, what products to use (and avoid), and how to keep your washer running like new.
Why Cleaning Your Washing Machine Agitator Matters
Let’s start with something most homeowners don’t realize:
Even though your washer cleans clothes, it doesn’t clean itself.
Over time, detergent, lint, body oils, and fabric softener can build up inside the drum and around the agitator. This buildup can:
- Cause unpleasant odors
- Leave residue on clothes
- Reduce washing efficiency
- Create a breeding ground for mold and bacteria
Regular cleaning helps prevent these issues and ensures your washer performs at its best. In fact, experts recommend cleaning your washer about once a month or every 30 cycles to prevent buildup.
Do You Need to Remove the Agitator to Clean It?
Short answer: No.
In most cases, you should NOT remove the agitator unless your manufacturer specifically says it’s safe. The agitator is designed to be cleaned along with the rest of the washer during a cleaning cycle.
However, there are a couple of exceptions:
- If your agitator has a removable cap
- If there’s visible grime or residue buildup
- If your washer has a strong odor
In those cases, you can do a deeper manual clean—but still without removing the entire agitator assembly.
What You’ll Need
Before you start, gather these basic supplies:
- Washing machine cleaner (recommended) or liquid chlorine bleach
- A soft cloth or sponge
- Mild dish soap
- Optional: long-handled brush (for hard-to-reach areas)
Avoid mixing cleaning products—especially bleach and vinegar—as it can create harmful gases.
Step-by-Step: How to Clean a Washing Machine Agitator
Let’s break it down into a simple, effective process you can follow in under an hour.
Step 1: Empty the Washer
Make sure your washing machine is completely empty before starting.
This might sound obvious, but running a cleaning cycle with clothes inside can actually trap residue instead of removing it.
Step 2: Add a Cleaning Solution
Now it’s time to add your cleaner.
You have two main options:
Option 1 (Best): Washing machine cleaner tablet
Place it directly inside the drum (not the detergent dispenser).
Option 2: Liquid chlorine bleach
Add about 1 cup to the bleach dispenser.
Important tip:
Avoid using vinegar regularly for deep cleaning. While it’s popular online, its acidity can damage rubber components over time.
Step 3: Run a Cleaning Cycle
If your washer has a “self-clean” or “clean washer” cycle, use it.
If not:
- Select a normal or heavy-duty cycle
- Use hot water
- Enable “deep fill” or extra water settings if available
This helps circulate the cleaning solution through the entire machine—including the agitator.
Once the cycle finishes, run an additional rinse and spin cycle to remove any leftover residue.
Step 4: Wipe Down the Agitator
After the cycle, open the lid and inspect the agitator.
If you notice any residue:
- Use a damp cloth with mild soap
- Gently wipe the entire surface
- Focus on grooves and crevices
This step removes any remaining buildup the cycle didn’t fully dissolve.
Step 5: Clean Inside the Agitator (If Applicable)
Some agitators have a removable cap at the top.
If yours does:
- Gently twist or pull it off
- Use a cloth or brush to clean inside
- Remove any hidden buildup or residue
Important:
If the cap doesn’t come off easily—don’t force it. Not all models are designed to be opened.
Step 6: Let the Washer Dry
Once everything is clean:
- Leave the lid open
- Allow the washer to air dry
This helps prevent moisture buildup and mold growth.
How Often Should You Clean Your Agitator?
For best results:
- Light use: once a month
- Heavy use (large households): every 2–3 weeks
- If you notice odors or residue: clean immediately
Regular maintenance keeps buildup from becoming a bigger problem later.
Signs Your Agitator Needs Cleaning
Not sure if it’s time yet? Watch for these warning signs:
- Musty or sour smells
- Clothes don’t smell fresh after washing
- Visible grime or residue on the agitator
- Black flakes or particles in the drum
- Reduced cleaning performance
If you notice any of these, your washer is overdue for a cleaning cycle.
Common Mistakes to Avoid
Cleaning your washer is simple—but a few mistakes can actually make things worse.
1. Using Too Much Detergent
Excess detergent leads to buildup faster than anything else.
2. Mixing Cleaning Products
Never combine bleach and vinegar—it creates toxic chlorine gas.
3. Skipping Regular Maintenance
Waiting until your washer smells bad means buildup is already severe.
4. Forcing the Agitator Open
If it’s not designed to be removed, you could damage internal components.
Pro Tips to Keep Your Agitator Clean Longer
Want to reduce how often you deep clean your washer? Follow these simple habits:
✔ Use the Right Amount of Detergent
More detergent ≠ cleaner clothes. It often causes buildup instead.
✔ Leave the Lid Open After Washes
This prevents trapped moisture and mold growth.
✔ Run Hot Cycles Occasionally
Hot water helps break down residue and bacteria.
✔ Clean Dispensers and Filters
These areas can contribute to buildup if ignored.
Can You Clean an Agitator Naturally?
Yes—but with caution.
While natural solutions like baking soda or vinegar are popular, they’re not always ideal for long-term use in washing machines.
- Vinegar can degrade rubber seals over time
- It’s fine occasionally, but not as a primary cleaner
- Dedicated washer cleaners are safer and more effective
What If Your Washer Still Smells After Cleaning?
If odors persist even after cleaning the agitator, the problem may be deeper inside the machine.
Possible causes include:
- Buildup between the inner and outer tub
- Dirty drain hose or filter
- Mold inside hidden components
At that point, you may need:
- Multiple cleaning cycles
- A stronger cleaner
- Or professional appliance service
Cleaning your washing machine agitator isn’t just about appearances—it’s about performance, hygiene, and extending the life of your appliance.
The key takeaway?
???? You don’t need to remove the agitator.
???? A simple monthly cleaning routine is enough.
???? Consistency prevents bigger (and more expensive) problems later.
By following the steps in this guide, you’ll keep your washer fresh, efficient, and working like new—so your clothes come out truly clean every time.